
Everyday more and more people are using WordPress. You can now create professional and powerful WordPress store just by using a simple plugin. In this tutorial I am going to show you one of the easiest ways to create a WordPress store.
Getting Started with WordPress Store
There is plugin called WP eStore which allows you to create beautiful WordPress store. First, you need to download the plugin from here
Now use the following steps to set up your store:
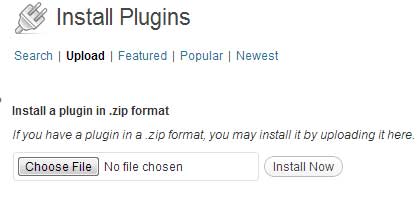
Step 1: Upload and install the plugin through the WordPress plugin uploader.
a) Go to Plugins->Add New on your WP dashboard
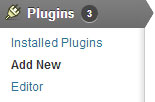
b) Select the Upload tab and install the plugin
Step 2: Once you have activated the plugin go to the plugin settings (WP eStore->Settings).
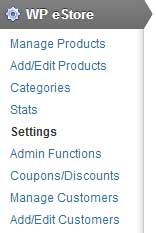
This is where you will be able to customize the plugin settings. In this tutorial I will only focus on the basic settings.
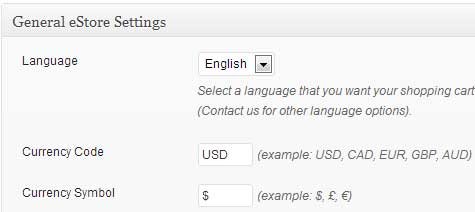
a) General eStore Settings
In this section you can configure the currency code and symbol.
b) General Image and Page URL Settings
In this section you can set up a URL where the customer will be redirected to after the transaction.
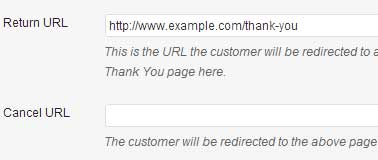
You can learn about setting up a thank you page here
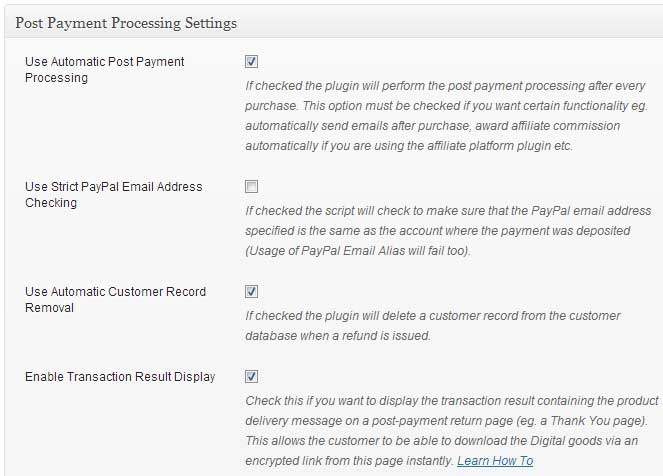
c) Post Payment Processing Settings
In this section you can configure the post payment specific settings. For example: Allow the plugin to automatically process the payment, Automatically remove the customer record if a refund is issued, display transaction result on the Return URL (thank you page).
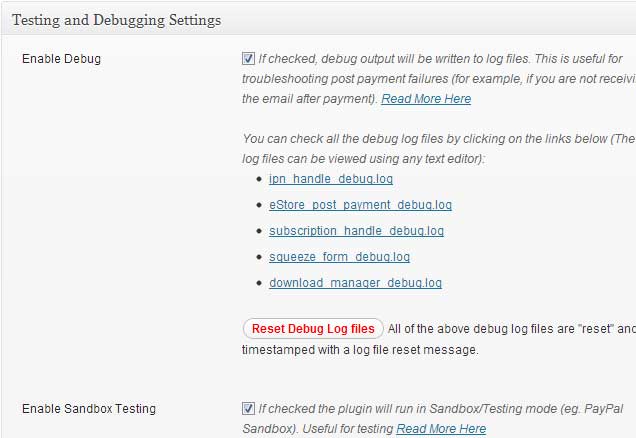
d) Testing and Debugging Settings
You can track each step of the plugin while it’s processing the payment. You need to check the Enable Debug option to enable this functionality. You can also run the plugin in sandbox mode before going live.
Step 3: Switch to the Payment Gateway Settings tab

Step 4: Go to PayPal Settings
Make sure that you have the following options configured:
a) Use PayPal Payment Gateway
b) Paypal Email Address/Secure Merchant ID
c) PDT Identity Token
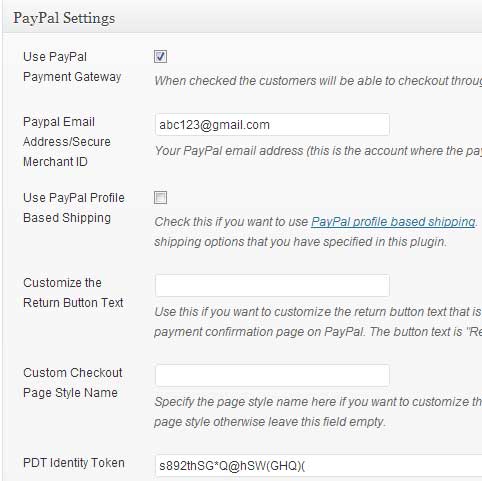
You can learn about setting up your PDT identity token here
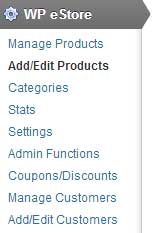
Step 5: Now that you have configured the basic settings it’s time to create new products. Go to WP eStore->Add/Edit Products to create a new product
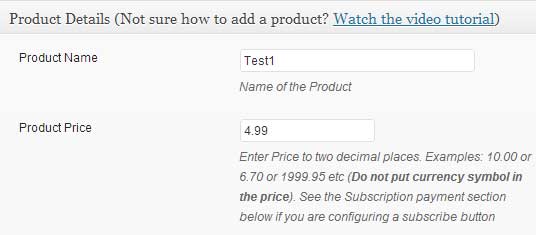
Step 6: Enter a name and price for the product.
Step 7: Go to Digital Content Details section.
You can either directly upload your digital file here or specify the URL where your file is hosted.
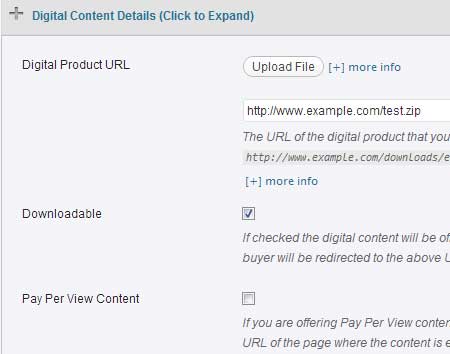
Make sure to check the Downloadable option. If this option is enabled your product will be served as an anonymous download by the plugin (this is to ensure the security of your digital download).
If you are creating this product for a tangible item you don’t have to configure any option in this section.
There is a Save Product button that you can click on to finish creating the product.
You can create as many products as you like in the same way.
You can always check the details of a product or even edit it from the Manage Products menu (WP eStore->Manage Products)
Step 8: Create a new post/page.

Step 9: Use the following shortcodes to embed your product.
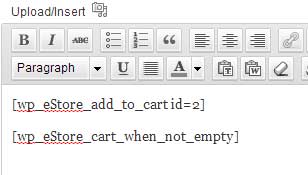
The first shortcode allows you to create a payment button (Add to Cart type) for the product ID 2 (you can find the ID of a product from the Manage Products menu).
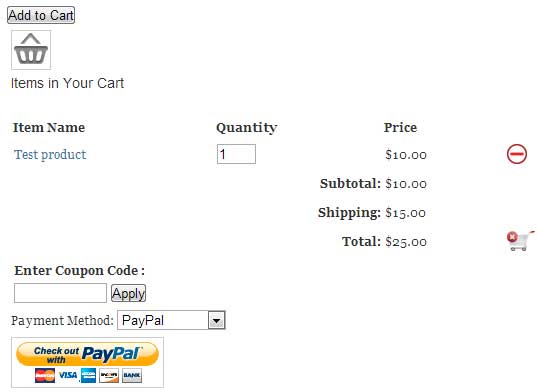
The second one allows you to embed the shopping cart on the post/page. If a user clicks on the Add to Cart button the shopping cart will display the current items in the cart.
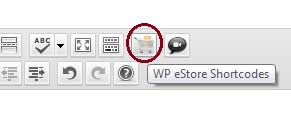
There are various shortcodes that you can use with eStore to embed different types of buttons (example: Add to Cart, Buy Now, Subscription). There is a tinyMCE button that you can use to directly insert shortcode to a post/page.
This is how your product page looks like when someone adds one product to the shopping cart:
Create a WordPress Store
What we have accomplished so far is the basic setup to embed one product. Now we will turn it into a WordPress store.
Step 1: Download the eStore extra shortcode plugin from here and install it on your site just like installing a new WordPress plugin. This addon allows you to add various styling options to your product display.
Step 2: Go to WP eStore->Categories and create a new category. It’s a good idea to create a catogory for all the related products.
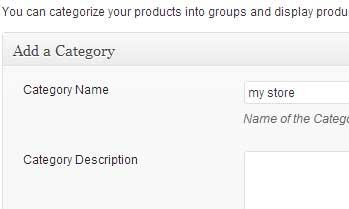
A unique ID will be automatically generated for each category you create.
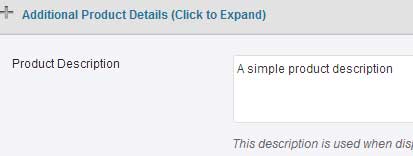
Step 3: Now go to WP eStore->Manage Products and add a category (In this case my store) as you edit each product (It’s in the Additional Product Details section).

You can also enter a description and thumbnail URL for each product:

Step 4: Go back to the page where you embedded your first product. Now insert the following shortcode to display all products from the category - my store (id = 3).
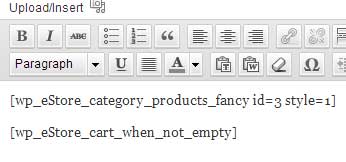
WordPress Store Display 1
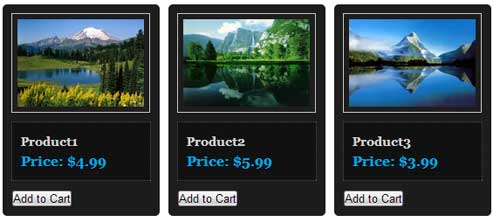
You need to set “style=1″ in the shortcode to make your store look like the following:
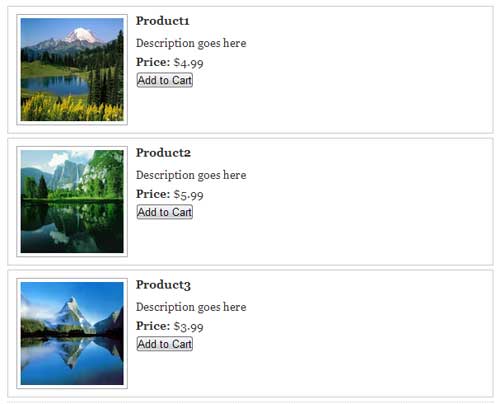
There are various display options in eStore to create beautiful WordPress store.
WordPress Store Display 2
You need to set “style=2″ in the shortcode to make your store look like the following:
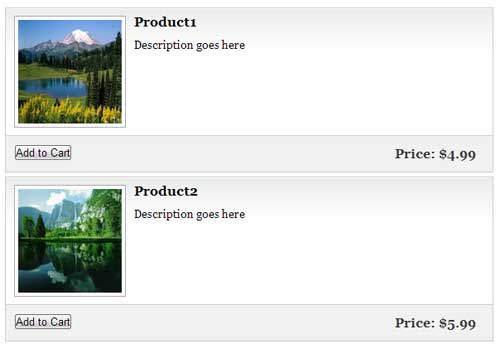
WordPress Store Display 3
You need to set “style=3″ in the shortcode to make your store look like the following:
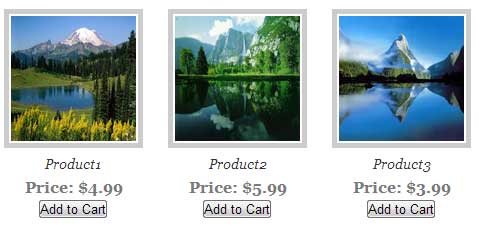
WordPress Store Display 4
You need to set “style=6″ in the shortcode to make your store look like the following:
Try WP eStore Plugin to Set up Your Store?
You can download the plugin from here
The post WordPress Store Setup appeared first on WP eCommerce.


